Showing posts with label how-to. Show all posts

Saturday, November 7, 2020

Kicksled Setup and Beginnings

 Hey Tribe,

Snow seems to be sticking to the ground now and the night temperatures are in the single digits (F), so I think winter has truly arrived. 

Time to bring the kicksled out of its summer slumber!  We don't yet have enough snow near the house to begin using the kicksled, but I believe it won't be long until we have decent snow cover and frozen surfaces on which to play.  I want to give the sled a once or twice over, to make sure we are all prepped and ready to run, so I thought now would be the perfect time to fill you in on how we have it set up for the dogs to pull.  If you need some background about the kicksled, you can read about our purchase and then come back to finish reading this post!


Okay, where shall I begin?  As savvy readers, you know that my Esla Kicksled is meant to be leg powered, not dog powered, but I have dogs, so dog power is what I wanted. 


To set the sled up to be pulled by dogs some additional equipment was needed.

Eye bolts were added to either side of the brush bar: it was easy to remove the regular bolts and replace them with the eye bolts.  They hold the rope in place.


The rope (called the bridle) is attached to the stanchions, which is where the sled will be pulled - attaching the bridle to the stanchions will also help with steering, since this is where the sled flexes for that.  The rope is then fed through the eye bolts - or more exact, rope is attached to one side, fed through the eye bolts and then attached to the other side.


Then, the gangline is attached to the bridle.  Mine is about 8 feet in length (including the stuff below).


I wanted something dual purpose at this point: line to attach the dogs to the gangline that could also serve as a leash, in case I wanted to leave the sled and take the dogs with me while we are out.  So I have two "leashes" that attach to a locking carabiner at the end of the gangline.


Having a neckline is important too, though not necessary if your dogs are well trained, and not technically part of the kicksled setup, but here I am writing about it anyway...  It is a short, homemade, line with clasps on either side that connect to each dog's collar.  This short line keeps the dogs together, so one doesn't zig while the other zags.  I keep fiddling with the neckline length and think I have found a good length for how my dogs run together.

Fly offered to include her foot in the photo for scale - she's so helpful.

Another nonessential, but incredibly handy item, is a basket or container to attach to the kicksled's seat.  Mine is soft-sided, so it won't scratch the lovely birch paint.  I put emergency items in there, as well as a few items I might need while out adventuring (snacks).  It is such a useful place to toss my gloves or hat when I get too hot and I don't have to worry about losing them.


So, that's the setup. 

Now, the beginning runs:

While waiting for our kicksled to arrive, I worked to teach the dogs the commands we would use.  There are a lot of internet sources out there: I found the blog All Dogs Are Smart and their videos to be extremely helpful.  

Initially, our runs occurred along a mile straight bit of dead end, gravel (now snowy) road that folks primarily use to run their dogs.  I wanted to practice using the sled and working the dogs at an easily accessible location, in case things went awry.  Things tend to get, um, hairy, when my dogs are involved.  However, our first few runs went surprisingly well and the dogs easily caught on to what we were doing.  Rex wanted to stop and pee on shrubs every 15 feet or so and Fly wanted to cut off the road to sniff something in the bushes, but I'd growl at them, give the 'Pull' command, and they'd run again.  The sled is decently light and maneuverable, so it was easy to stop the trotting dogs from dragging me into the bushes or off the road.


Our second evening out they stopped fewer times; the third evening out they stopped even less, but we encountered other dogs on the road and the KBDs went into a barking, growling, frothing frenzy.  That was unpleasant.  I managed to stop them by flopping to the ground and using my body as dead weight to slow the beasts to a stop in order to get them under control.  Clearly we need to work on ignoring and passing other dogs.  


Then, when we I had built up some sledding confidence, we ran down a similarly used road, but with curves.  I would call out directions (Gee and Haw) as we took the curves, even though they were running that way anyway.  Never hurts to reinforce directions.  The road was snowy and packed smooth and we were fast.  The dogs ran and ran.

Here's a video of that run:


After that evening run, I knew we were ready to hit the trails!  We had a lot of fun last winter with our kicklsed and I can't wait to get back on those runners and find new trails.


Saturday, October 10, 2020

Top 5 Must Have Items to Bring Hiking/Camping With Your Dog

 Hey Tribe,

Are you the type of person who brings all your earthly possessions on a one hour hike or the person who just wings it and hits the trail for two days with not even a care?  Somewhere there is a middle ground and finding a balance of bringing what you need with what you may or may not need can be tricky - the future is unpredictable.


To that end, here are Fly and Rex's top 5 must-have items to bring hiking and/or camping with your dog.

Snacks!

Snacks and hiking are synonymous aren't they?  Pack dog shacks that are non-greasy (to keep your pockets and hands a bit cleaner) and that won't crumble if they get a little smushed in your pocket or bag.  I like Zuke's dog treats because they're easy to carry and I can quickly pop one into a dog's mouth when they come running back to me.

Fly loves her Zuke's snacks!

Booties!

Just the simple cloth rectangle style booties with elastic velcro at the top are small and light to pack and sure come in handy when tender paws need some protection.  Blisters on paws can crop up just as unexpectedly as they do on our own feet; a cut pad will benefit from a bootie until you can get back home or to the vet.  Just make sure you've trained your dog to accept and wear booties before you need them.  I use these booties and keep complete sets in my pack, my truck, and near the door.

Fly needed booties when she developed blisters mid-hike

Water!

Unfortunately, water is quite possibly the heaviest substance on Earth when I put it in my pack, but it is such a necessary, and often overlooked, item to bring on any trip.  Dogs drink an unbelievable amount of water when they're out running around; don't count on there being a stream or other source of water for your dog - streams sometimes run dry.  Your dog should never run dry, so pack an extra bottle of water specifically for your pooch.  A folding or collapsible bowl, I use this one, will save you from using your hand as a makeshift dish; the bowl doesn't have to be large, dogs don't really need a big thing, just enough to get their tongue into.  You can conserve water by pouring the extra back into your dog's dedicated water bottle.


A Leash!

It seems like a no-brainer, but I've met several folks out on hikes who didn't have a leash for their dog.  Be a considerate and responsible dog owner and have a short leash, I like slip leads like this one, to quickly control your dog whenever you pass a fellow hiker.  Your dog may be friendly, but maybe theirs isn't, or maybe the other hiker is allergic to dogs.  Having an easy to use leash readily available will help make your adventure more enjoyable.


A Blankie!

Camping in an unfamiliar place can be unsettling and difficult to drift off to sleep.  A small blankie or pillow from home that your dog is familiar with can help your dog settle in quickly at the camping spot: it will help signal that this is where you will sleep and that it is safe.  I purposely keep a pillow or this small blanket on my dogs' bed at home so I can grab it when we travel places.  Sleep well my friends!


That's it!  Our top 5 must have items to bring on your next hiking or camping trip with your dog.  Simple items, but very worth packing and bringing along with you, no matter your packing style.


Of course, after your adventure hike or camping experience, don't forget to hit up Jax & Moonie to get a #beenthere Bark Mark to memorialize the trip!  Use the code REX15 for a 15% discount.


I've included links to products I have personally purchased and regularly use - if you shop using my links, I may get a small commission at no cost to you, so thank you!

Saturday, April 18, 2020

How to Trim Your Dog's Nails - Tips and Tricks


Hey Tribe,

Let's talk dog nail trimming!


I trim my dogs' nails at home for a few reasons: it is cheaper than having someone else do it and, more importantly, it allows me to form a better bond with my dogs.  The time my dogs and I spend together trimming nails has become almost meditating.  We are calm and quiet together.  They trust me to mess with their body and not hurt them.  This will translate to them allowing me to do other things to their feet that might otherwise frighten them, such as pulling briers out of their fur, cleaning sap out from between their pads, and checking for cracks and wounds.

A lot of junk can get trapped in these fur feet.

There are countless websites and videos that will show you how to trim your dog's nails, the American Kennel Club also has a very nice nail trimming guide you could read.  For this post, I will offer you tips and tricks that I haven't found on other sites, but really help me successfully trim my dogs' nails.

All the essentials.

Treats: Use a very specific treat for "nail time."  For us, that treat is Zuke's minis and the dogs only get them when we trim nails: this makes it super special.  I put a little pile of Zuke's on the floor next to me, so I can grab one easily. When Fly and Rex first started nail trim training, they got one treat every time I made a clip - now, they get a treat when they roll over in front of me, after each foot, and at the end when I say they are finished.

Chap waits his turn - he knows he can't eat the treats until it's his "nail time."

Trimmers: One day I asked my vet which type of nail trimmer is best and she said "whatever you're most comfortable using," but she uses the scissor type, which was re-assuring since it's what I have.  They are self explanatory to use and easy to hold.  A lot of folks use the grinder type trimmer, but I think they are noisy, expensive, and put nail dust into the air for you to inhale.  Gross.


Body position: If you control the head, you control the body, so I clip my dogs' nails with the dog on its back, head toward me.  I'm less likely to get kicked in the face this way.  Also, I can see the nail better from this angle.


Vision: Use a headlamp to better see what you're doing.  Reading glasses with a little magnification might help too.

Chap's nails are small and a bit difficult to see.

Not all nails are created equal: White nails are easier to trim, because the pink quick is visible through the nail, while black nails require a bit more attention to avoid cutting too deeply.  Also, front feet nails are usually longer than hind feet nails: I don't know why, maybe they push off with their hind feet more?

Front paw nail
Back paw nail.


Beware the sharp claw: Freshly trimmed nails are sharp!  This is where the grinder trimmers have an advantage, because they grind the nails smooth, rather than the scissor or guillotine trimmers that will cut a sharp edge.  Scissor trimmed nails should file smooth on their own after a day of regular walking, but in the meantime, try to avoid getting a paw to the face or against your nice pants.

Be like me and trim in your comfy clothes.

Trim regularly: Dogs like routine and they have an uncanny ability to track time.  My dogs get their nails trimmed every Sunday.  KBD nails grow quickly, so weekly trims are essential to avoid the click click of their nails on the floor.  Your dog's nails might not grow as rapidly, but trimming weekly will keep you and your dog in the habit - just trim off the new growth, whatever length it may be.

Two weeks of growth - way too long!

Relax: Enjoy the time spent with your dog.  When you are calm, your dog can be calm too.  If you are worried about hurting the dog, take tiny shavings off with each repeated cut and you won't cut too deep, which can help you remain calm and confident.  During "nail time" your focus is on your dog, which is wonderful and your dog will love it - if you are relaxed.

Rex wants it to be his turn again.

Below, is a short video clip showing how relaxed Fly is as I trim her nails.


So, there you are with some tips and tricks to help you and your dog enjoy a successful nail trim session at home.  Happy trimming!

P.S. Photos were taken with my iPhone5, sorry for the terrible image quality.

Wednesday, December 11, 2019

Gun Proofing


Hey Tribe,

Last weekend the pups got a dose of gun proofing and they were awesome.  We went to the gun range where folks were doing their target practice thing and the pops and bangs were pretty loud.


We played in a grassy area down the hill from the range, so the noise wasn’t as loud, but we could still hear everything.


The pups were so focused on hunting mice and leaping in the tall grass that they never had any thought to be afraid of the loud noises.


Fickle weather has left us with only a small dusting of snow, but the fog was a lovely addition to the setting – making old trees even more mysterious.
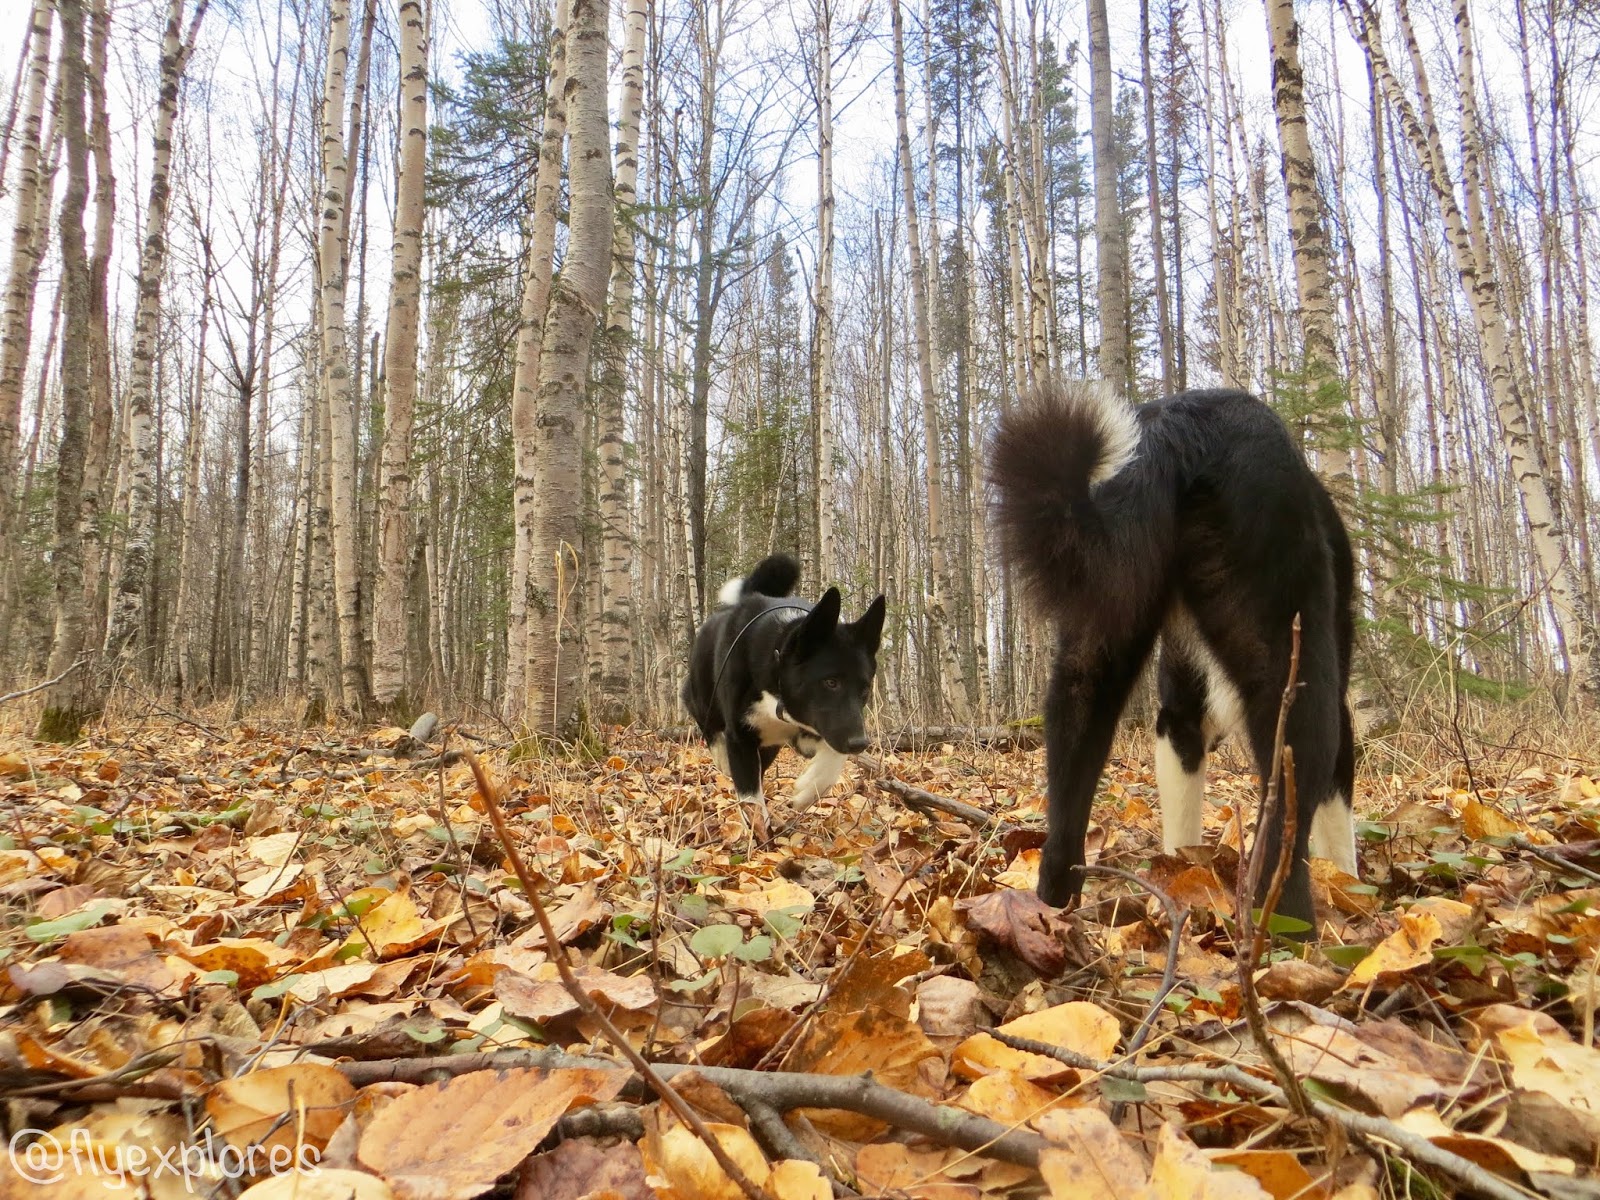

The outing was a fun way to ensure that noises, such as gunshots, aren’t something that will cause fear and it makes the dogs more reliable in a variety of settings.


The holidays are approaching: hopefully fireworks won’t be an issue either!  Just in case, I will have specially designed doggy earmuffs handy to diminish the noise.  Stay tuned for a MuttMuffs review.

Saturday, October 26, 2019

That Off Leash Life


Hey Tribe,

Guess who is enjoying life off leash?

This 7 month old pup!
This beauty too, of course.

After basic re-call training and many outings of letting Rex drag a long line around in the field and having him reliably return to my call or e-collar beep, I finally felt slightly confident enough to unclip the leash and have him run free.  

Freedom!

I'll be honest, it was scary.  What would he do?  He’d know he was off line.  Would he stop listening to me?  Would he run into the woods and I’d never see him again?  He would be in charge of his own path.


He was awesome.

  
Fly was awesome.


They were so happy to run together.


We visited the old log schoolhouse and Fly showed Rex all the best nooks and places squirrels are known to scamper and how to pose on the chairs.


There was also a good amount of training; I don’t think training ever stops.  I’m teaching the dogs the “with me” command, where I start walking in a certain direction or stop moving as they proceed ahead and then I say “with me” and they are supposed to move in my direction.  It isn’t a full “come” command: I don’t want them right near my body, just be in my vicinity.  They’ve caught on really well and we worked on this skill as we explored the woods.

Checking out some fox scat.

I’m also not letting Rex go out as far from me as Fly does.  I regret letting her be comfortable being 300+ yards away from me and I want Rex to learn to stay closer to me.  So, when he’d get 50ish yards away, I’d say “Rex, with me” and he’d circle back closer to me.  Good boy.

Don't feel bad for him, being close means more treats!

We returned home as a happy trio and I am eager for another off leash woodland wander.  To not be afraid of losing a dog because it won’t recall is indescribably enjoyable.  It’s freeing to not have a leash getting tangled around my hands, legs, and trees.  For a couple of Karelians who want to run and sniff and play, that off leash life is so, so sweet.


Popular Posts